
Ever tried organizing an event without the right tools? It's like baking a cake without a recipe — you might pull it off, but it’s going to be messy (and probably stressful).
Luckily, with HubSpot and event•hapily, you can keep your paid event registrations as seamless as your morning coffee order.
We’re talking about setting up custom ticket objects, syncing payments, and automating follow-ups — no spreadsheets or manual processes in sight.
Here’s how you can pull it all together and turn your registration flow into a well-oiled machine.
Why Paid Event Registrations Shouldn’t Be a Hassle
If you’re hosting paid events like courses, webinars, or workshops, you need a system that:
- Sells custom tickets with clear pricing.
- Tracks registrations and payments automatically.
- Lets your team focus on delivering value—not chasing payment records.
With event•hapily managing the event and HubSpot Payments handling the cash flow, it’s all possible.
And with a few clever automations, you’ll have your attendees registered and excited before you can say "multi-session masterclass."
Step 1: Create Custom Ticket Objects for Your Event
First things first — your ticketing system needs structure. Enter custom ticket objects. These represent the different passes or ticket types available for your event, and they’re linked directly to your event record in HubSpot.
Here’s how to build yours:
- Go to event•hapily Events: In HubSpot, open your event record.
- Create Your Ticket Object: Click "Create" to set up a new object. Name it something unique (Max from hapily recommends “event•hapily tickets” to avoid confusion with HubSpot’s support tickets).
- Add Key Properties:
- Ticket Name: Keep it clear (e.g., “General Admission” or “VIP Pass”).
- Ticket Price: The cost of each ticket.
- Event Association: Link your ticket to its corresponding event.
Pro Tip: Keeping things simple helps! Start with only the properties you need, like price and type, to avoid overcomplicating your records.
Step 2: Link Your Products to Payment Tools
Once your tickets are set up, it’s time to get paid! Here’s how you connect your ticket objects to HubSpot Payments.
- Open the Payment Tool: Create a new payment link in HubSpot.
- Select the Ticket from the Product Library: Choose the product (i.e., your ticket object).
- Customize Your Payment Form: Ensure you capture at least the attendee’s first name, last name, and email.
If you want to collect more details (like company names or preferences), create a HubSpot form that redirects to your payment link. That way, you get all the info upfront without making the process feel clunky.
Step 3: Automate the Registration Process with Workflows
Why do things manually when automation can handle it for you? Let’s set up a workflow that creates registrant records and tracks payments as soon as someone buys a ticket.
Here’s what you need:
- Automate Registrant Creation:
- Build a workflow that triggers when a payment is completed.
- Create a new registrant record linked to the event and contact.
- Assign Ticket Details: Automatically pull in the ticket type and price to the registrant record.
- Track Revenue: Add a custom calculated field to the event record that sums up all ticket sales.
No more guessing how many people paid or how much revenue you’ve earned—it’s all at your fingertips.
Bonus Round: Fancy Automation (Optional)
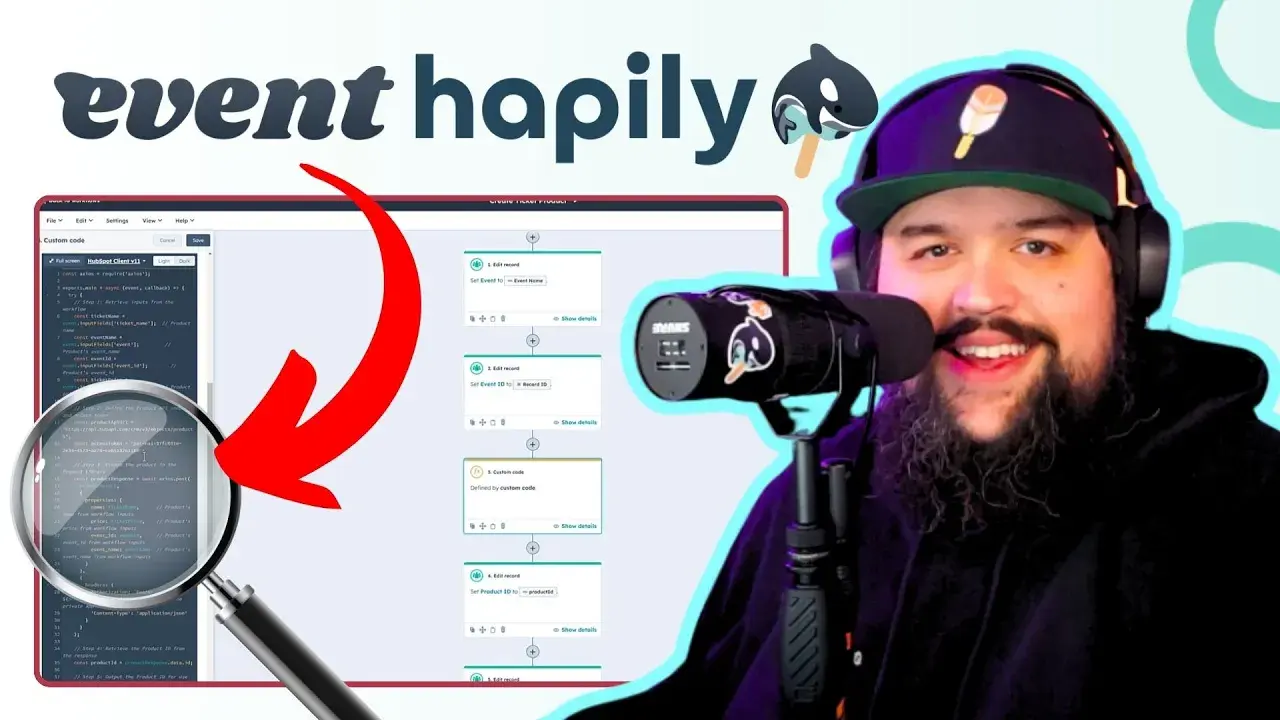
Feeling ambitious? If you have Operations Hub Pro, you can use custom-coded workflows for some extra flair.
- Auto-Create Products: Build a custom action that creates product entries in HubSpot’s product library for every new ticket purchase.
- Sync Product Details: Pull product IDs, event IDs, and other properties into registrant records to keep everything seamlessly connected.
Max from hapily built his custom workflows with the help of GPT, so even if you’re not a coder, it’s doable! But if you prefer to keep things simple, manual ticket entries work just fine too.
Step 4: Post-Purchase Follow-Up Automation
A great event experience starts as soon as someone registers. Make attendees feel welcome and informed with automated follow-ups:
- Send a Confirmation Email: Include event details, session links, or a QR code for event check-in.
- Reminders: Send countdown emails to keep attendees excited and engaged.
- Post-Event Survey: Capture feedback with a quick survey to improve future events.
Pro Tip: Personalize your follow-ups based on the type of ticket they purchased. VIP attendees? Make them feel special!
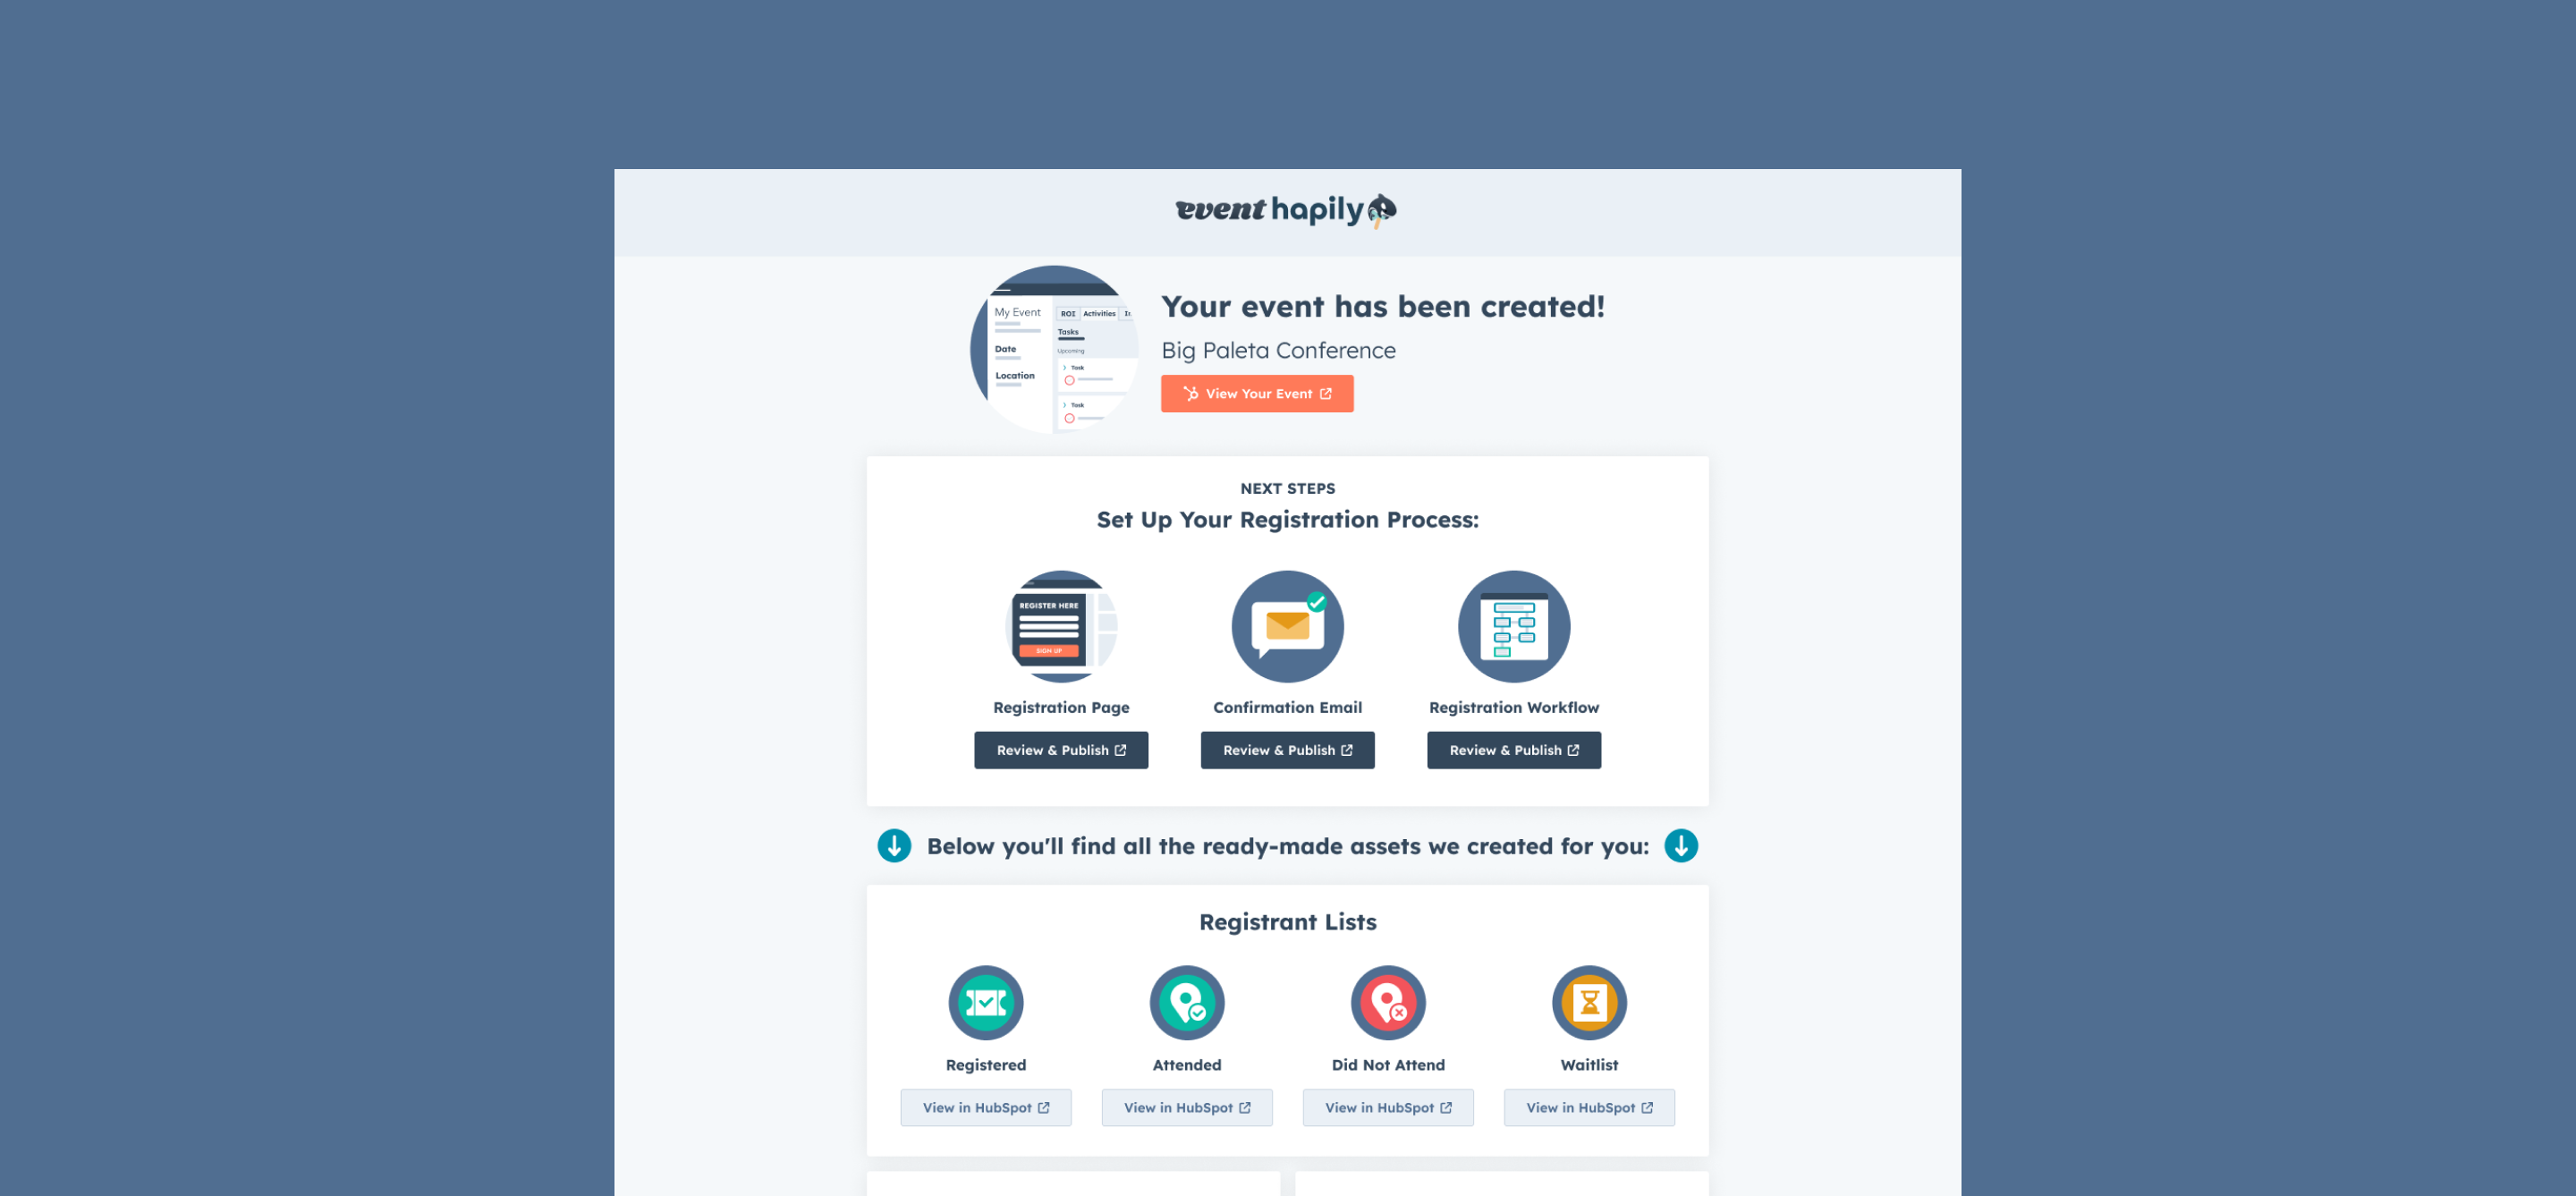
What Success Looks Like: Real-Time Reporting and Insights
With event•hapily and HubSpot working together, your reporting becomes effortless:
- Total Registrations: See how many people signed up by ticket type.
- Revenue: Track total ticket sales without lifting a finger.
- Engagement: Keep tabs on who showed up and who didn’t.
By the time your event starts, you’ll have more data than ever—and the peace of mind that everything’s running smoothly.
No Stress, Just Success
Managing paid event registrations doesn’t have to be a logistical nightmare.
With event•hapily and HubSpot, you’ve got everything you need to manage events, track revenue, and create an unforgettable attendee experience — all without drowning in spreadsheets.
Need a hand setting up workflows or optimizing your forms? The hapily team is always here to help. Request a demo to help make your next event the easiest one yet!

.png)
.jpg)