Step 1: Install the app from the HubSpot App Marketplace.
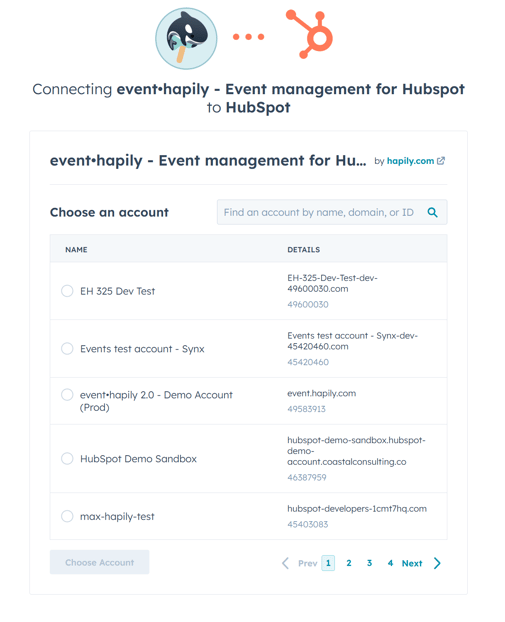
Once you click the install link from the HubSpot app marketplace page, choose which account you'd like to install event•hapily on. Then once you approve the install, give it about 5 minutes to install all of the assets into your portal.
Step 2: Confirm installation of event•hapily assets.
Here are a few things you should look for to be installed once the installation is complete.
- Confirm Custom Objects are installed: Look for 3 new custom objects installed into your portal. They are called hapily events, hapily sessions, and hapily registrants.
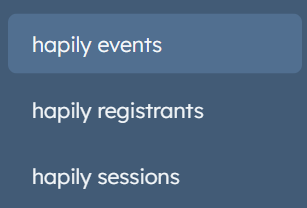
Note that while these objects get installed quickly, it may take a few minutes for it to show up in the navigation on the left. To confirm they installed before that happens, just go into settings > Objects > Custom Objects and you will see them in there.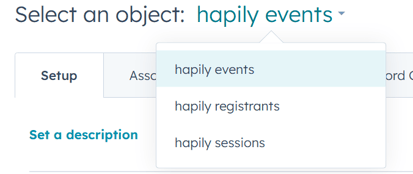
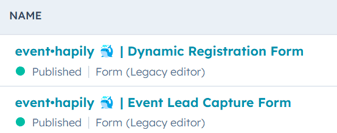
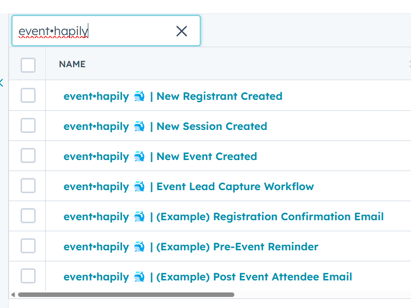
- Check for Dynamic Registration and Lead Capture Forms are installed: To do this, go to the forms tool by navigating to Marketing > Forms, and then look for the two forms below to be installed:
- Check for Workflows to be installed: Next head to your workflows tool by navigating to Automations > Workflows and check to see if the event•hapily workflows were installed. You should see the workflows below:
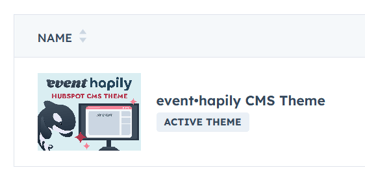
- Confirm installation of event•hapily HubSpot CMS Theme: event•hapily installs an optional CMS Theme that you can use. Alternatively you can use the modules from our theme in your own CMS themes as well. Navigate to Settings, scroll down to Tools on the left side settings sidebar, click on Content, and then Themes & Modules. You should see the below theme installed:
Worth noting that if you plan on using the event•hapily HubSpot CMS Theme, you may want to customize it. You can do that by editing the theme just like any other HubSpot theme.
Step 3: Customize the Create Menu for Event and Session Objects (Optional but Recommended)
When creating a new hapily event object, you may find the create menu to be somewhat disorganized. This is due to HubSpot's API limitations, which prevent third-party apps from pre-configuring the Create Menus and Object Layouts of Custom Objects during installation. If you wish to enhance the organization of the create menus for the Event and Session objects, please refer to this article and watch the accompanying video for guidance.
Step 4: Consider setting up some recommended calculated fields (Optional)
One more limitation of HubSpot's API is that we are not able to pre-install calculated properties on objects. But don't worry, this article will show you exactly how to set up some of the most popular calculated properties that our customers use commonly with event•hapily.
Step 5: Give it a test run
A good way to get started is to create an event, then go build a registration page so you can understand the basic mechanics of how event creation, to registration, to attendance tracking work. Follow this video to see a basic example of how to test it all out.
Before hitting play on the video, navigate to your "hapily events" object index page by hitting the "CRM" tab in the navigation and clicking on hapily events. If you do not see hapily events in your navigation, wait a few minutes for HubSpot's navigation to refresh. Otherwise you can find hapily events by switching which object you are looking at from another object's index page (such as contacts).
Once you are on the hapily events index page, watch the video below.